Play Make Write Think

Avatar

cynti19. “Disney’s Peter Pan Photo: Wendy Darling Screencap.” Fanpop, http://www.fanpop.com/clubs/disneys-peter-pan/images/36193498/title/wendy-darling-screencap-photo.
“Video Game Controller, Handle, Game Handle, Recreational Machines PNG Transparent Clipart Image and PSD File for Free Download.” Pngtree, pngtree.com/freepng/video-game-controller_4830279.html.

I chose the image of English book as the background. Thinking about the main topic of ENG101, English literature should definitely be the key. Recently, I went to Qingdao, which is a costal city in western China. This picture was taken by me while visiting Qingdao. I love the sea, enjoy spending time sitting there and listening to the splash of sea waves crashing against the rocks. I have lived in San Diego for four years. Visiting Qingdao reminds me the sea that I used to see in San Diego everyday when going to school. Video games should be another key element of this course, I also included the images of controller handles. A little fun fact about myself is that I named myself Wendy after watching the Disney movie Peter Pan. Therefore, I included the image of Wendy from Peter Pan as well.

Avatar

Low Poly Portrait Photo edited by Ryan Song

This image is a portrait of myself edited into a low poly portrait. This photo was actually an assignment I had done back in high school. I thought it was appropriate to use here as the website icon so I have reedited it and posted it here.

I chose this image to represent myself because of the multifaceted feel the triangles that make up my face in this picture gives. To me this represents the many different sides of myself I have developed while experiencing different cultures and learning different languages. Aside from my different interests, this icon also shows my interest in the arts.

Badge

I created this avatar when I first got my phone. It’s meant for sending emoticons using one’s own face (as opposed to yellow faces), although it’s probably not as popular as Apple would have liked. I chose to use this avatar because I was able to play around with the faces. I also added a blue beanie, because if this was an in-person class, I would have been wearing a beanie most days. The criteria said to choose an avatar that speaks to this class, so I chose one with a thinking face (“Play Make Write THINK”). I also found it fitting that the avatar be thinking given that it shows up when I comment on a discussion post (“here is what I am thinking”).

Some difficulties I had while creating the badge were adjusting the photo size and adding my name on, but when I used Pixlr, those problems were quickly resolved. 

Avatar

I started watching the anime Demon Slayer a few weeks ago, and the protagonist really inspired me. He is a character I aspire to be like, so I decided to make him my avatar. The anime starts with his whole family getting killed by demons, and his sister as the only survivor. She was not human, however, but was turned into a demon. Despite this, and despite her not being herself. Tanjuro (the protagonist) still stays with her, and devotes his life to trying to turn her back into a human. Throughout the whole anime tanjuro gives out kindness without the expecting anything in return, and his braveness and selflessness is somethin I inspire to have.

The main difficulty in creating the badge was getting to be a perfect square. I had to crop the edges continuously. Another challange was chosing color that did not look of place in the image, but also was visible. I chose white on green because it fit the best.

Side Quest 1: Avatar

Due: 8/30

Tag: sq1

Objectives:

  • Very basic photo editing
  • Introduction to the concept of Creative Commons
  • Uploading and publishing to your new WordPress site
  • Visual images as representations of complex conceptual topics
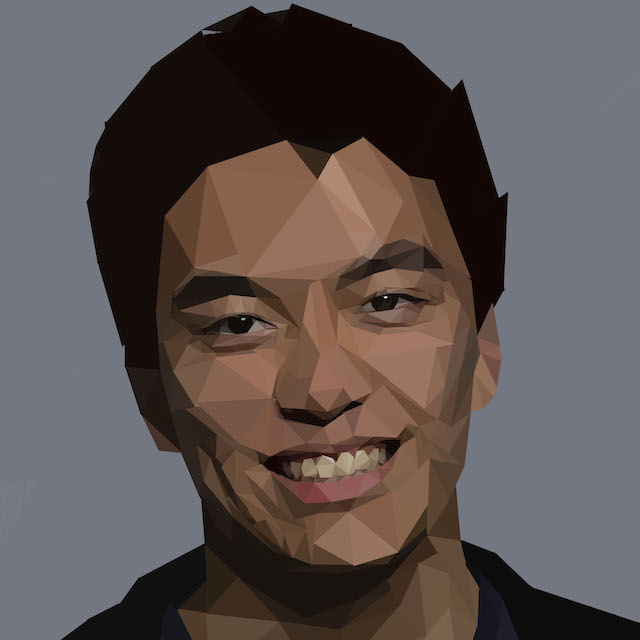
Avatar

Once you’ve created your web site, you need an image to represent yourself and/or your site for the class: an avatar. Your avatar can be whatever you want it be but try to create something that both reflects your personality and speaks to the topic for this class in some way.

Start by choosing one or more of your own photos as the basis of the avatar, drawing something yourself and scanning it, or finding one or more CC-licensed images on Flickr that you can modify. Make certain to keep a note for yourself of the URL for the photos you use if they are not your own.

[Edited to add: The link above has just broken, so here’s some additional instructions. Creative Commons licenses work with copyright law so that creators can share their work in a way that allows others to use it with attribution. The video on the left gives a good overview of the concept of Creative Commons licensing. The one on the right gives more explanation of how they work. They are short and worth watching.

You can find CC-licensed images by choosing licensed images on Flickr or with an advanced Google image search.

A screenshot of the Flickr search page, showing the Advanced tab and then the selector to search only licensed images.
(click to embiggen)

(Click images to embiggen)

You can also search through public domain photo archives like Unsplash for images that you are free to use without restriction.]

Crop and otherwise edit the photo(s) in a photo editing application (like Photoshop, if you have it, or Pixlr is a free online photo editor that should work perfectly well for this task). You can create a layered or collage effect, if you’d like. Add your name on your badge in such a way that it’s legible — it can be your full name, just your first name, or the nickname you want to be called this semester.

Your final badge should be square and at least 512 pixels wide and high. Please make certain your badge is square so that it will fit into the design on the student sites page.

Publish

When you’re done, you’ll need to put the image two places, with an optional third:

First

Load the badge into your Media Library and publish it to your site in a blog post. (If adding it as a feature image means that the entire square image won’t display, then also insert the image into the post itself.)

Include information and links in the post about the source(s) for images included in your badge.

Write a paragraph or two about why you chose those images, what aspects of yourself and your interests are represented in your badge, and/or what difficulties you faced in creating the badge.

Please tag your post with the tag “sq1,” plus with any additional tags that you think are appropriate.

Second

Go into your dashboard to Appearance > Customize > Site Identity. Load the image as your site icon.

Finally

If you do not already have a gravatar, create a gravatar account and load your avatar there. From then on, your avatar will show up as your picture when you leave comments here and on other students’ sites.

css.php